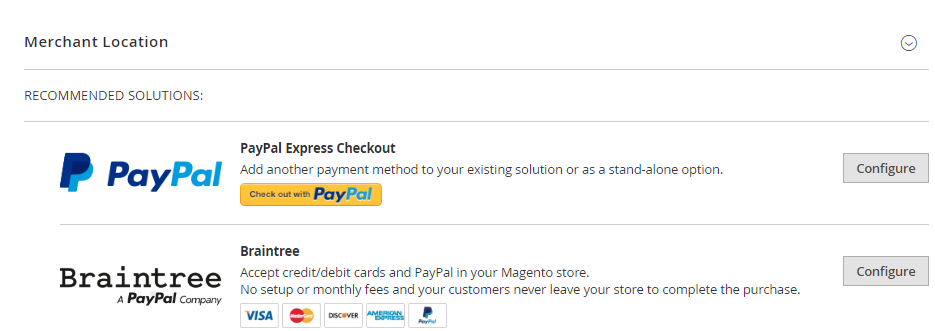
To enable Apple Pay (Braintree) on your store go to Stores-Configuration-Sales-Payment Methods.

Braintree Configure
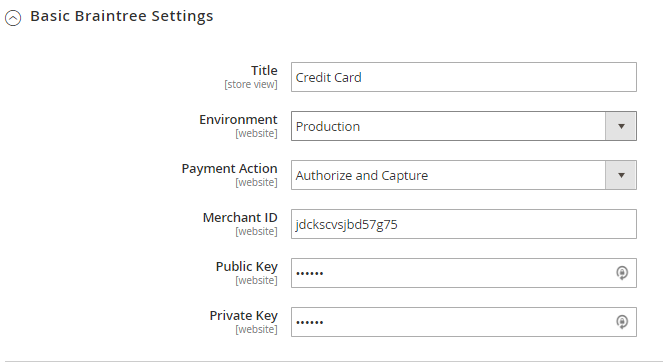
Basic Braintree Settings
To Enable Braintree Apple Pay on your store fill in the next inputs with the info from your Braintree account
- Environment
- Merchant ID
- Public Key
- Private Key


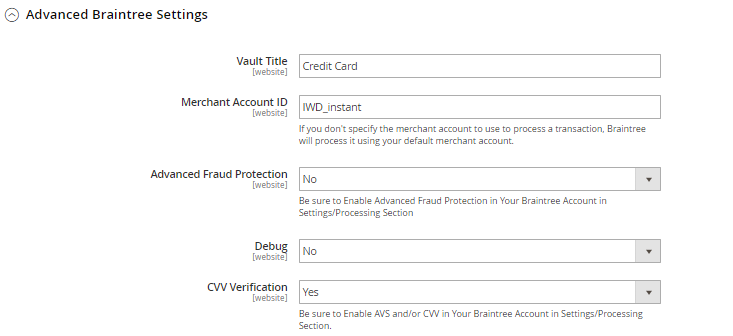
Advanced Braintree Settings
The next step will be to fill in the merchant id in advanced settings


Apple Pay Configurations
- Enable this solution - Enables/Disables Apple Pay on your store
- Title - Change your store view name for Apple Pay
- Override Merchant Name - enter the name as you want it to appear to display your merchant name differently than what is specified in your store configuration.
- Debug - Set Debug to “Yes” to save a log file of interactions between your store and Apple Pay through Braintree
- Payment Action - select “Authorize Only” to approve the purchase, but put a hold on the funds to waiting for being captured by the merchant or “Authorize and Capture” to imply that the purchase is already authorized and can be withdrawn from the customer’s account at once.
- Payment from Applicable Countries - Set up country restrictions for your store
- Payment from Specific Countries - Choose specific countries for custom restrictions
- Sort Order - Enter the order number for Apple Pay Braintree payment method
Braintree Settings
To enable Braintree payment method go to Settings-Processing
And Enable Apple Pay as a Payment Method

