
To start, go to Stores -> Configuration -> IWD Agency -> Product Designer
Enabled
- Activate or disable the Product Designer
Allow to Upload Images
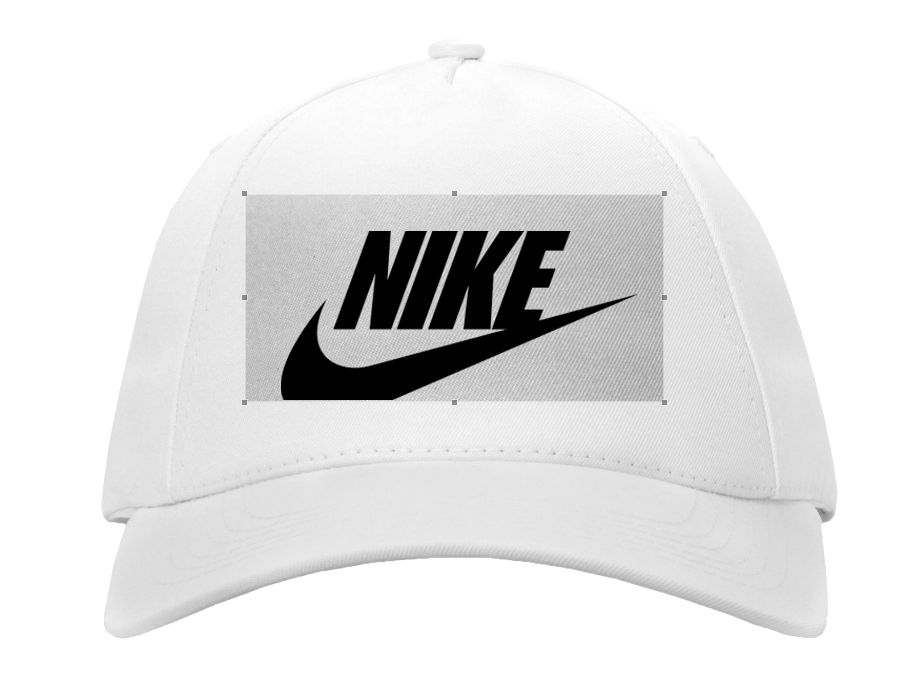
- Set to yes if you would like for your customers to be able to upload images when customizing your products. For example adding their logo to a shirt or hat.
Allow to Add Text?
- Set to yes if you would like for your customers to be able to add text when customizing your products
Use Image Thumbnails in Gallery
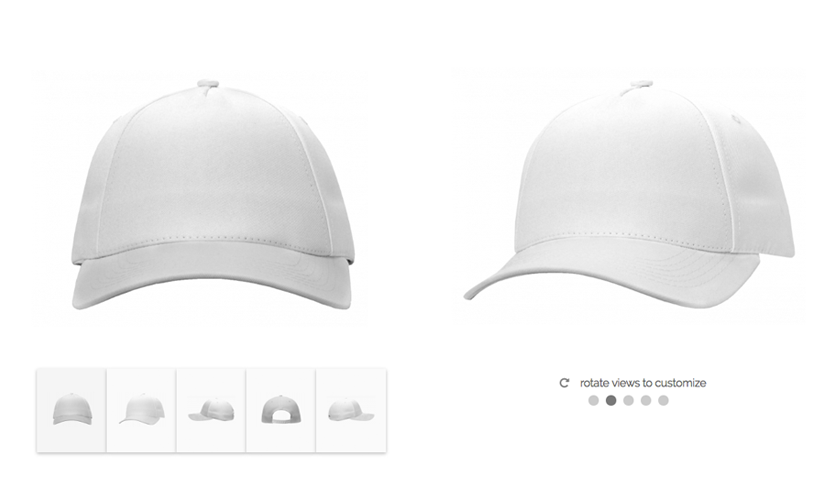
- Set to 'yes' if you would like to display additional product images as small thumbnail images beneath the main product image. If set to 'no' then images will be replaced with pagination icons instead and show "rotate views to customize" text to assist the user in changing images / product angles.
Allowed Image Types
- Enter the types of images that you support. For example, "jpg,png" etc.
Maximum File Upload Size
- Specify the maximum file upload size that a customer can upload when designing a product. Note: please be aware that your server has a maximum file upload size as well. If you need to increase this size then please contact your server support.
Minimum Height of Uploaded Image
- If you support images up to a specific size then specify the minimum height of the image. For example, enter 100 if you do not support images smaller than 100px in height.
Minimum Width of Uploaded Image
- If you support images up to a specific size then specify the minimum width of the image. For example, enter 100 if you do not support images smaller than 100px in width.
Minimum Width of Scaled Image
- Since customers are able to resize their images once uploaded, you are able to control the minimum size they can scale down their image to. In this case, specify the minimum width of the image.
Minimum Height of Scaled Image
- Since customers are able to resize their images once uploaded, you are able to control the minimum size they can scale down their image to. In this case, specify the minimum height of the image.
Default Font
- Select the font that will automatically be selected for the customer once they add text to their design. After adding the text, the customer will have the option to change the font to one of the supported fonts as specified in the "Fonts in Frontend Editor" setting.
Fonts in Frontend Editor
- In the list of fonts, select the fonts that you support (Command + Click to select multiple fonts). Customers will only be able to request product customizations in the supported fonts that you select.
Default Text Size
- Set a default text size that will be applied when customers choose to add text to their designs. Customers will haev the option to change this if needed.
Minimum Font Size
- If there is a limit to the minimum font size that a customer can use when designing a product then specify the minimum size in this setting.
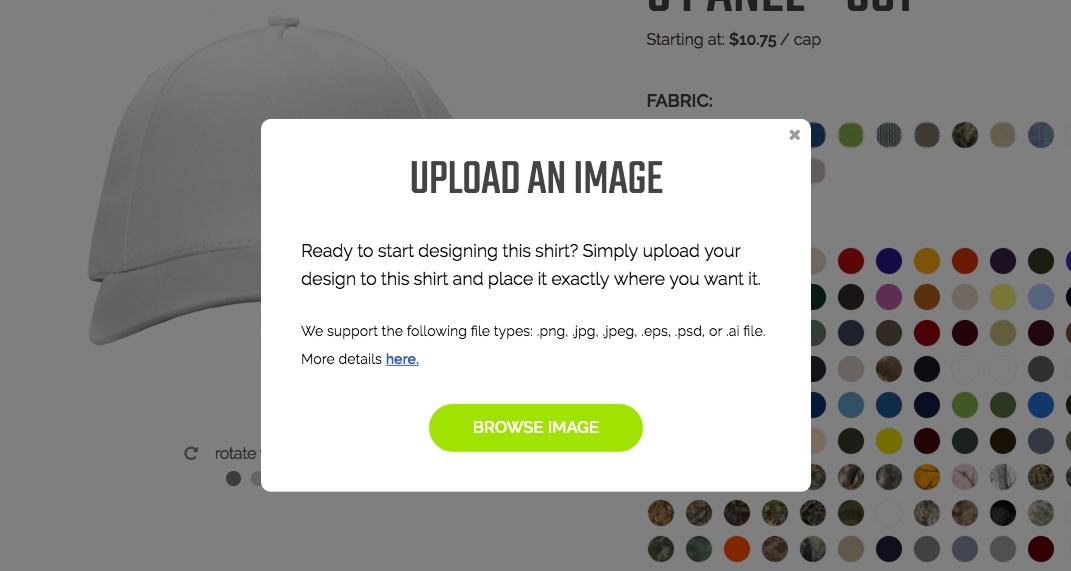
Text in Pop-up for Image Uploaded
- Specify the text message shown to customers when they select to upload an image for their design.
Text in Pop-up for Image Uploaded (Secondary)
- Specify additional text that is shown to customers when they select to upload an image for their design. For example, "We support the following file types..."
Error Message in Pop-up for Image Uploaded
- Control the message that is shown to customer's if the file fails to upload.
Incorrect Image Format
- Control the message that is shown to customers if they upload an unsupported file type.
Incorrect Image Size
- Control the message that is shown to customers if they upload an image that does not meet your image size standards.
The following settings can be located at Products -> Catalog -> select a product -> navigate to the IWD Designer Settings section
Enabled
- Enable / disable the Product Designer capabilities per product.
Use Color Palette for Text
- If "Yes" then the customer can choose to ues any color that is supported in the "iwdpd_text_color" attribute. If "No" then the customer can only use the colors selected in the "Available Text Colors" setting.
Text Color
- Select the default text color that is applied for the customer when they choose to add text to their design. The customer can change the color of the text to any available colors you support.
Available Text Colors
- For this product, select which colors customers can use when adding text to their design (Command + Click to select multiple fonts).
- This list of available text colors is managed in the product attribute "iwdpd_text_color" which can be located and managed at Stores -> Attributes -> Product -> Select "iwdpd_text_color" attribute and manage the available colors in the "Manage Swatch (Values of Your Attribute" section.
Use Fixed Price
- If "Yes" then the final price of the product is not dependent on the customizations that the customer makes to their design. If you would like to charge extra for design customizations then set this value to "No".
Fixed Price per Side
- If you would like to charge for each side or variation of the product then specify an amount to be charged. For example, $5 front of the shirt, $5 for the side, and $5 for the back.
Text Price
- If you would like to charge for adding text to a product's design then specify the amount.
Image Price
- If you would like to charge for adding images to a product's design then specify the amount.
Enable Pricing Per View
- If "Yes" then customers are able to create different designs per view / variation of the product. For example, creating a unique design for the front of the shirt vs the back of the shirt.
The following settings can be located at Products -> Catalog -> select a product -> select one of the product's images
Allow to Customize this View
- For each image you upload for a product, you are able to enable / disable the option for customer's to design this view of the product.
- For example, if you offer customer's the option to design the front of a shirt but not the back then do not select this option for images that display the back of the shirt.
Advanced Pricing Settings
Use Fixed Price
- If needed, you are able to set custom pricing per view of your products. Check the "Use fixed amount" option to specify a set amount for this product view.
Image Price
- If you would like to set an additional charge to upload an image to this view / angle of the product then enter an amount.
Text Price
- If you would like to set an additional charge to add text to this view / angle of the product then enter an amount.
Design Boundaries
Draw Boundaries
- If customers are only able to modify the design of a specific area on the product, then use this option to draw specific borders on where the product can be modified.
- For example, if the front of the shirt can only be customized on the pocket then you can limit customers to only creating designs within this area.
Remove Boundaries
- Select this option to remove the boundary box from the product.
Shadow Based Settings
Background Attribute
- If the uploaded image is not the overlay / base image then select the product attribute that will be used for color variations. Since a configurable product can have multiple product attributes, it is required to specif which attribute will be used to apply color variations.
- The Product Designer also provides the ability to color multiple sections of a product. For exampl, a hat may have the option to set a different color for the body vs the visor. In this case you will need to apply the correct "visor" attribute for the visor images. Learn more about this feature.
Overlay Image
- Select this option to specify if the uploaded image is the overlay / base image.