Product / Feature Request
User Guide
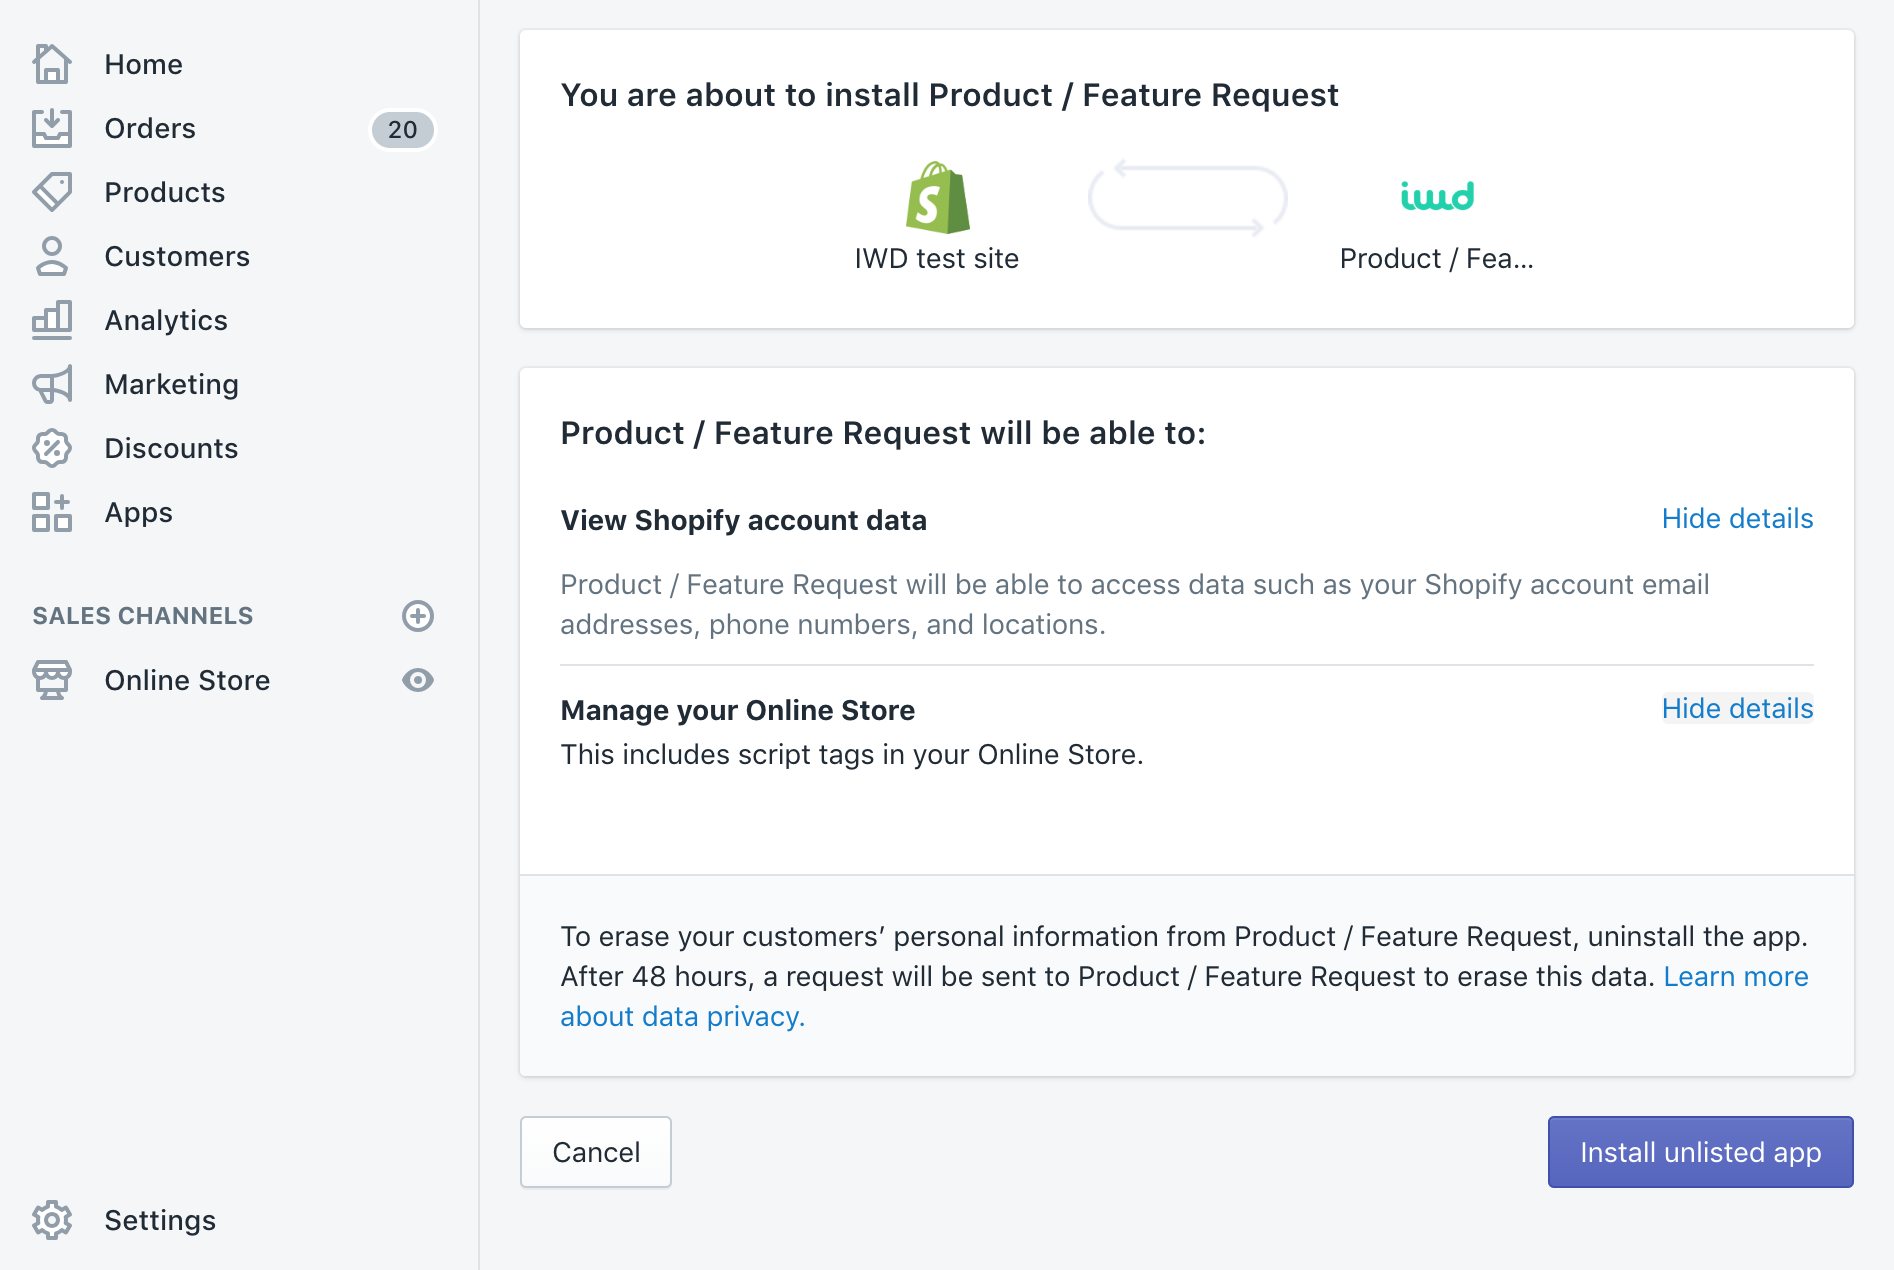
Installation & Permissions
> Select “View Details” to view permissions requested by Product / Feature Request
> Select “Install app” to begin the installation process.
Documentation & Support
DOCUMENTATION
> Select "Documentation" to access the application User Guide.
SUPPORT
> Select "Support" to access IWD's customer support team.

General
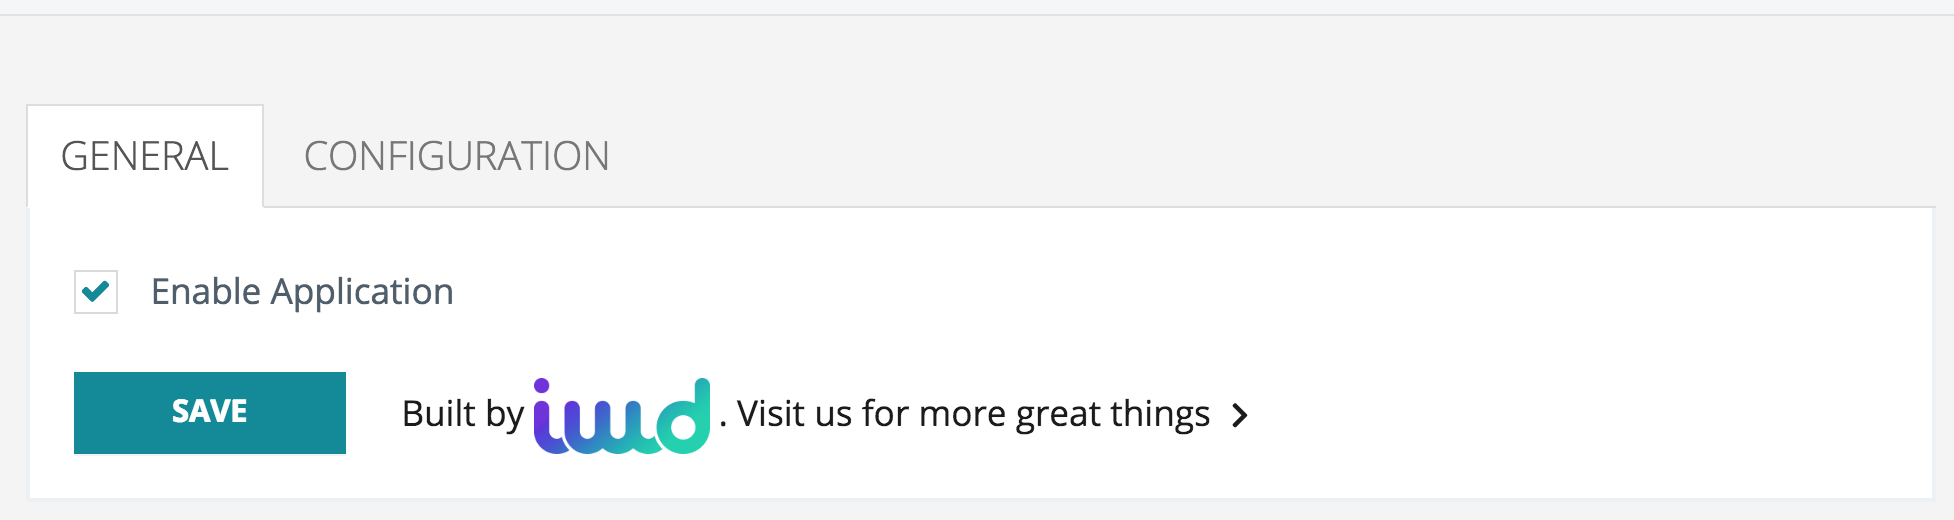
ENABLE APPLICATION
> Enable application by selecting Yes / No select. Please note that the application is automatically enabled on the product page.
CONFIGURATION
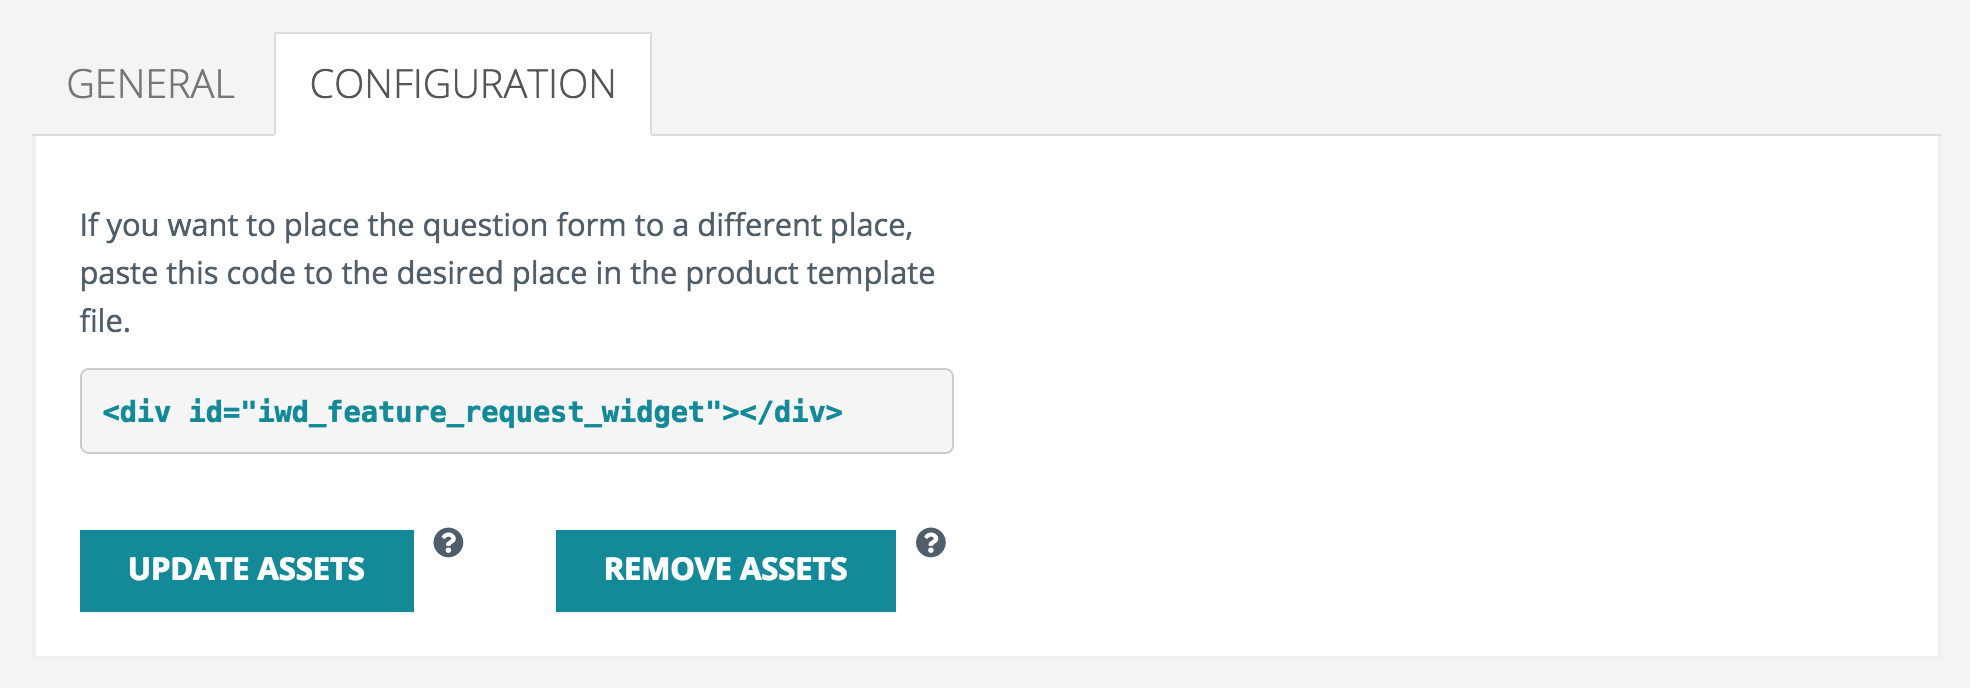
> In order to relocate the application form to a different place, paste this code to the desired location in the product template file.
UPDATE ASSETS
> Click "Update Assets" to reinstall application files
REMOVE ASSETS
> Click "Remove Assets" to delete application files from the store. This would be done prior to removing the entire app from the store.
Settings
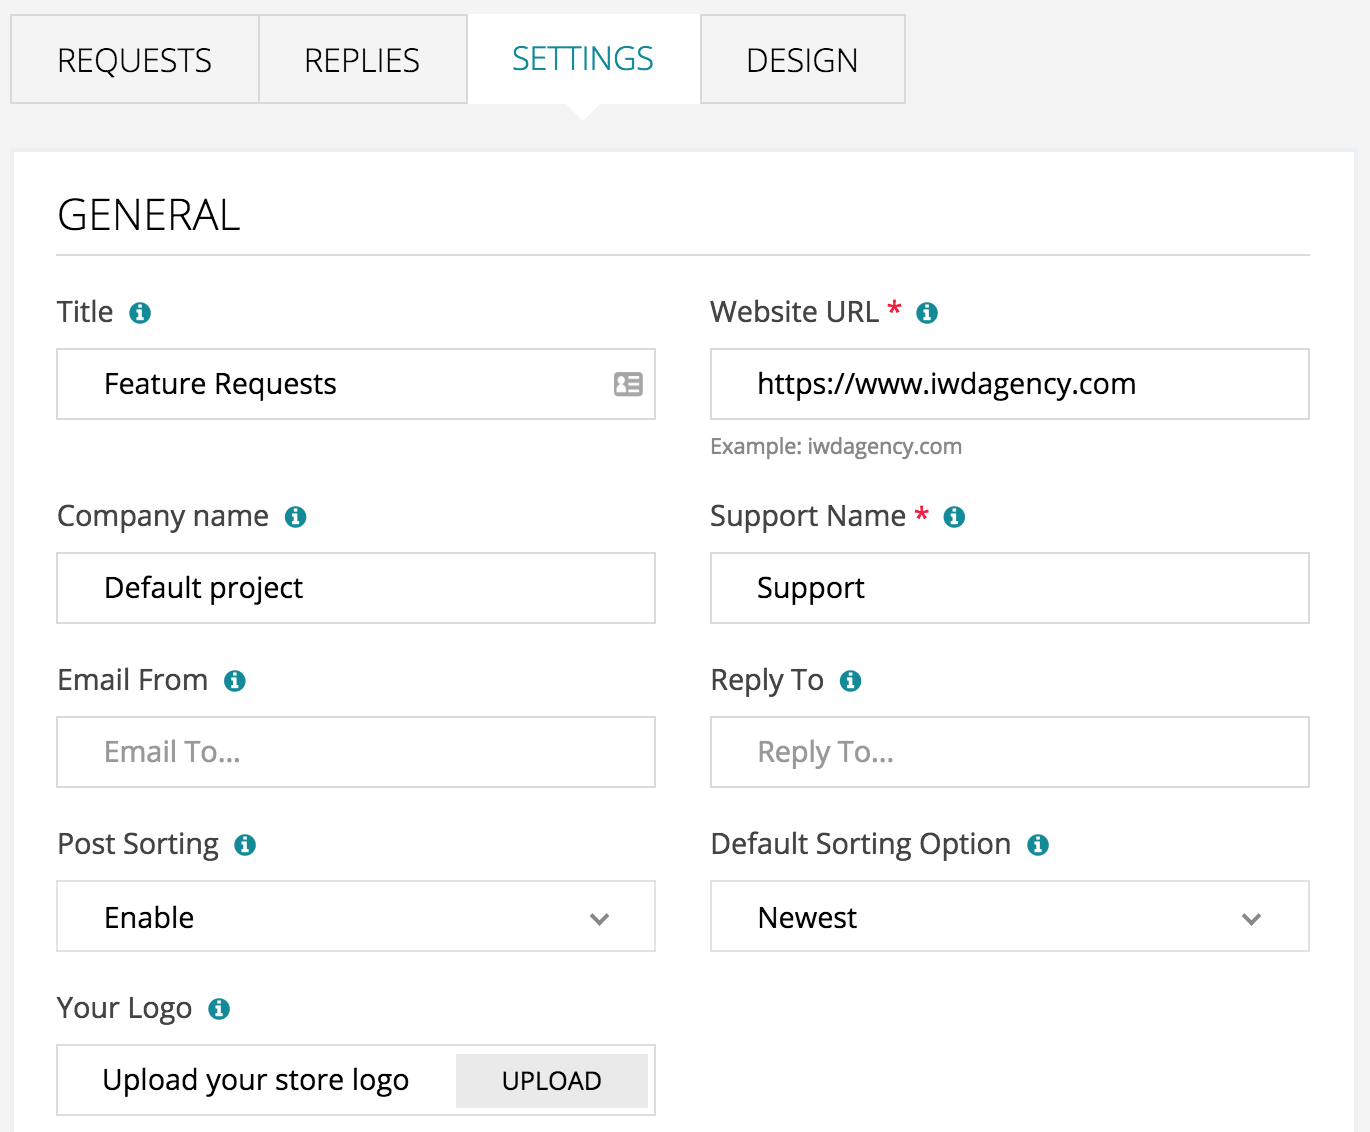
GENERAL SETTINGS
> Select a form field to make adjustments to the applications general settings.
> Settings include:
> Title - The title of the app as viewed on your website.
> Website URL - The URL of your website.
> Company Name - Company name will appear as the email sender and in the email footer.
> Support Name - Name that will appear on comments from Admin.
> Email From - Emails will be sent to users from this email address. Yahoo accounts are not supported
> Reply to - All email replies will be sent to this email address.
> Post Sorting - Allow users to sort product requests by oldest, newest, most votes and least votes.
> Default Sorting Option - Specify how to sort the posts in your widget.
> Logo - This logo will appear on your emails and verification page.
NOTIFICATIONS
> Choose between System Notification and Auto-Moderation.
> System Notification - Receive alerts when users submit requests and comments.
> Auto-Moderation - Automatically publish feature requests and comments on website without admin approval.

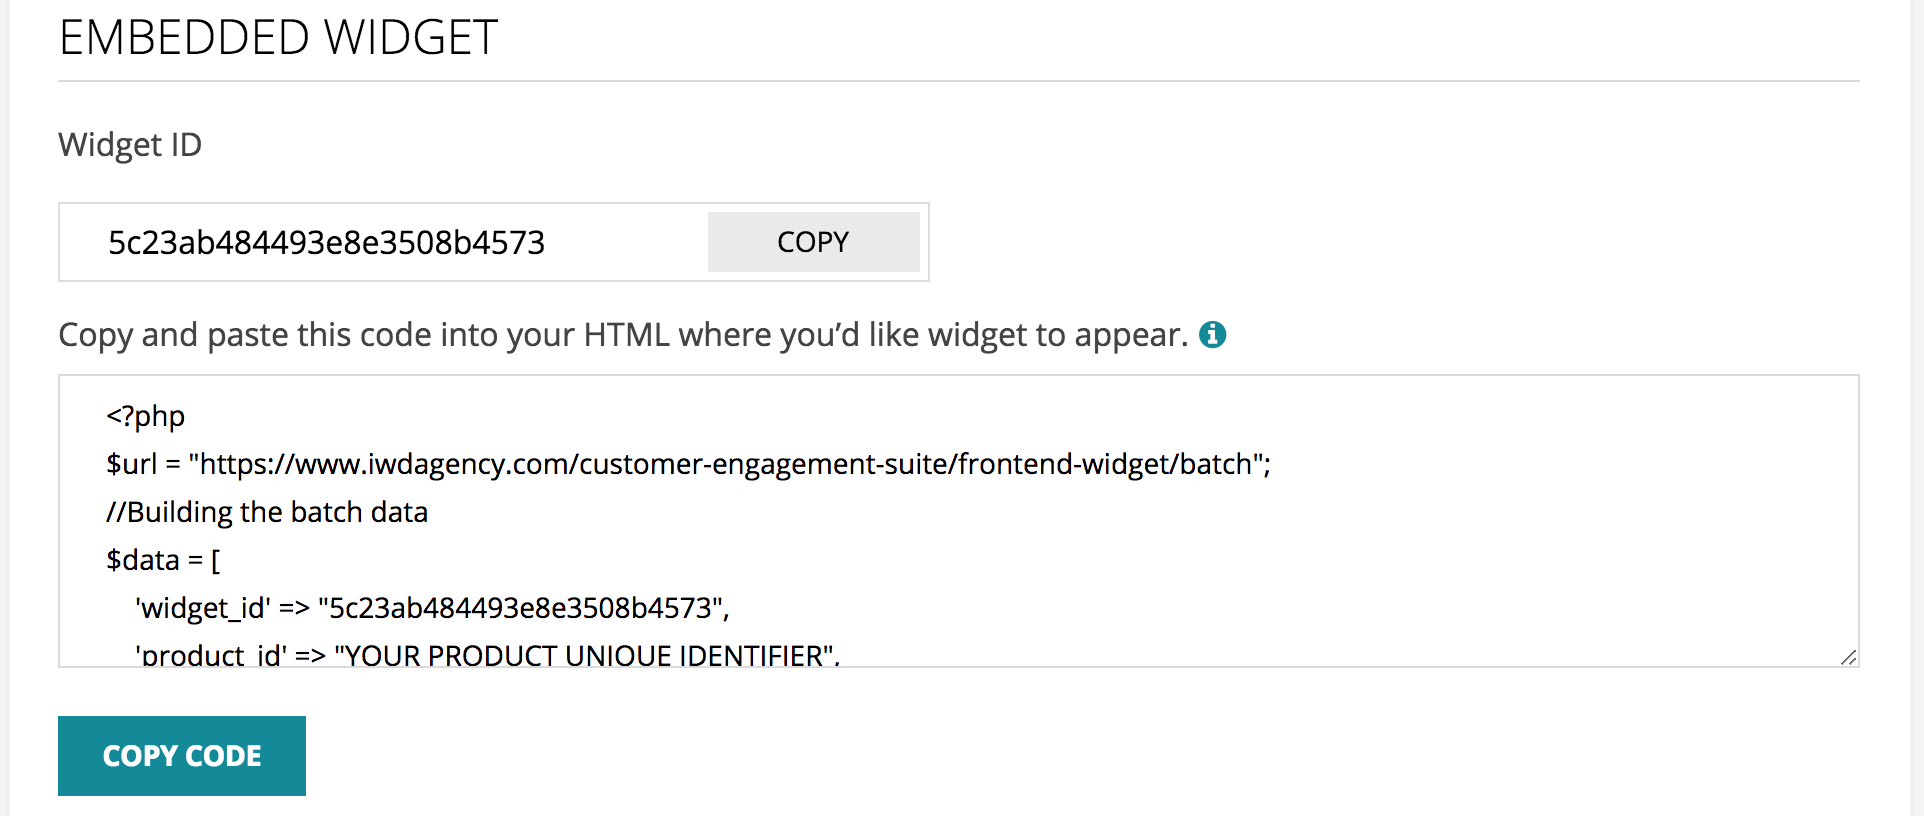
EMBEDDED WIDGET
> Copy the code using the Copy Code button, then paste the code into your HTML where you would like customer’s requests to appear on your website.
PRODUCT OVERVIEW
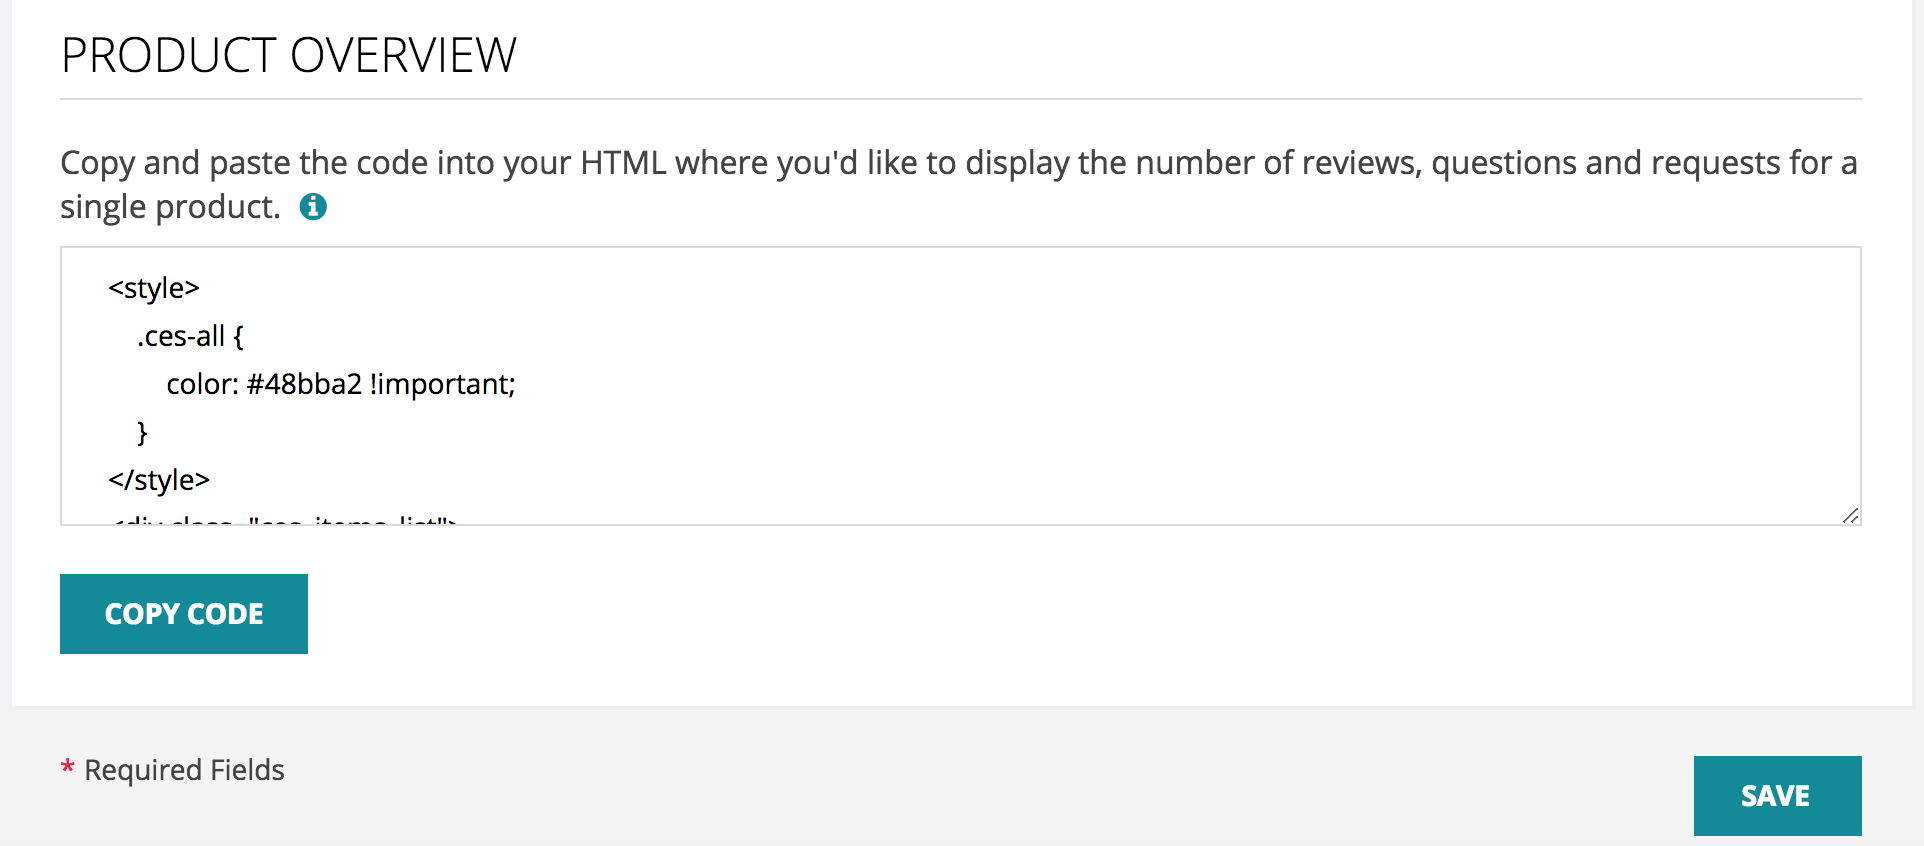
> Copy and paste the code into your HTML where you'd like to display the number of reviews, questions and requests for a single product.
SHARE POSTS BETWEEN PRODUCTS
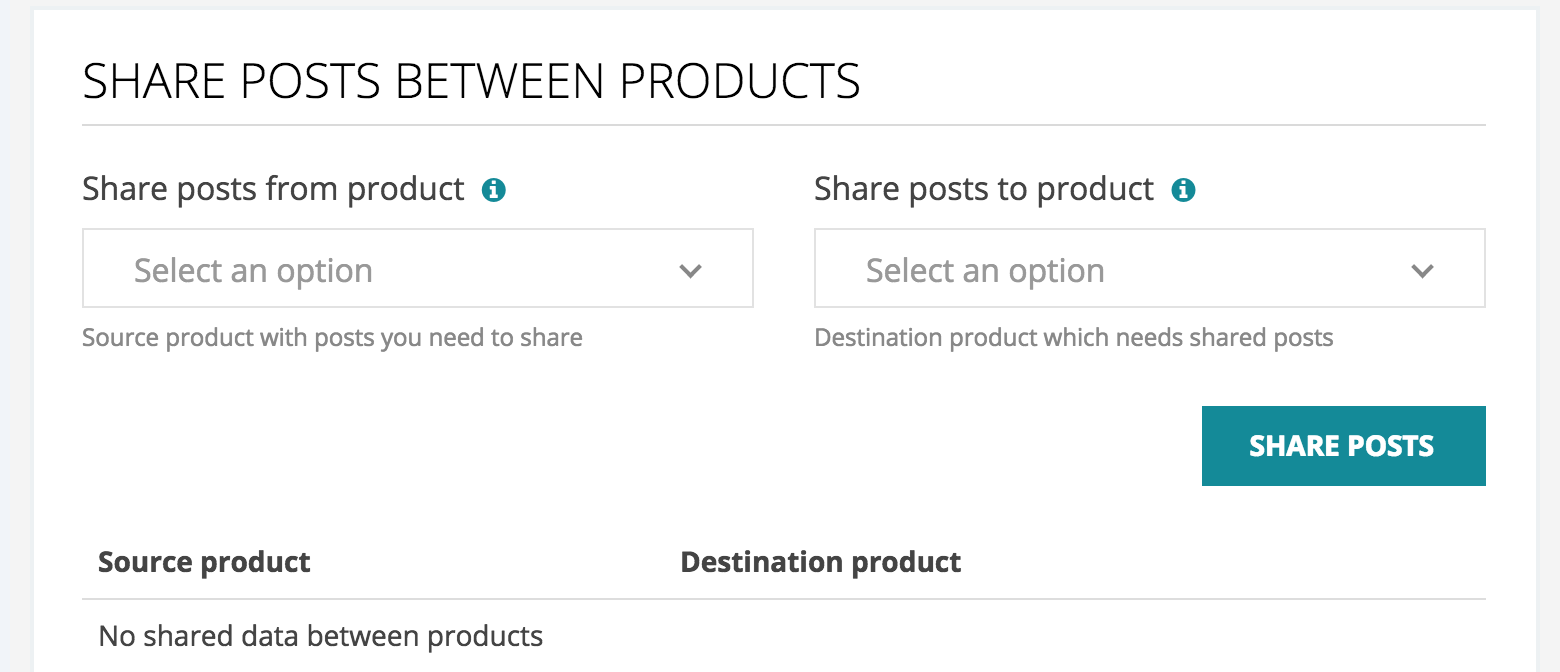
> Share posts from Product - Select the product with the posts that you want to display for another product.
> Share Posts to Product - Select the product that will display these posts as their own
DESIGN SETTINGS
DESIGN WIDGET
> Accent Color - Select the color you would like to apply to your buttons.
> Hover Color - Select the color for your buttons while in “hover state”.

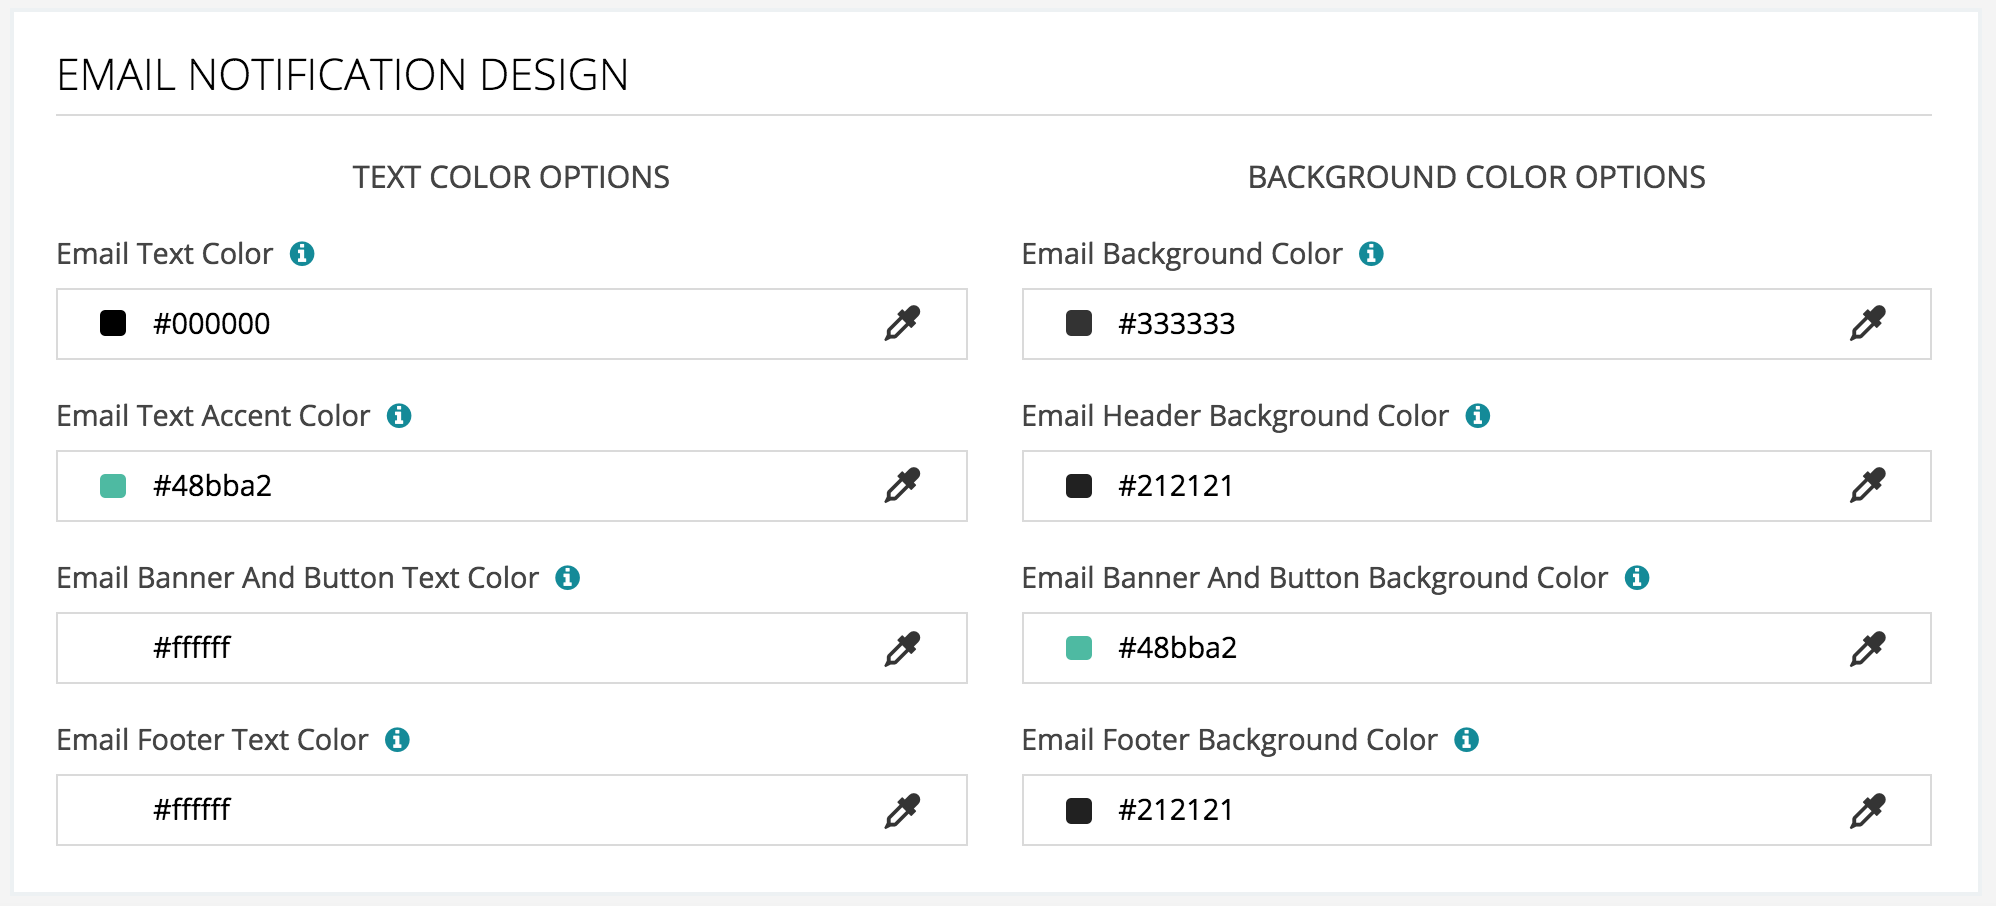
Email Notification Design
> Email Text Color - This color will apply to your email text.
> Email Text Accent Color - This color will apply to your email titles and labels text.
> Email Banner and Button Text Color - This color will apply to your email banner and button text.
> Email Footer Text Color - This color will apply to your email footer text.
> Email Background Color - This color will apply to your email background.
> Email Header Background Color - This color will apply to your email header background.
> Email Banner and Button Background Color - This color will apply to your email banner and button background.
> Email Footer Background Color - This color will apply to your email footer background.
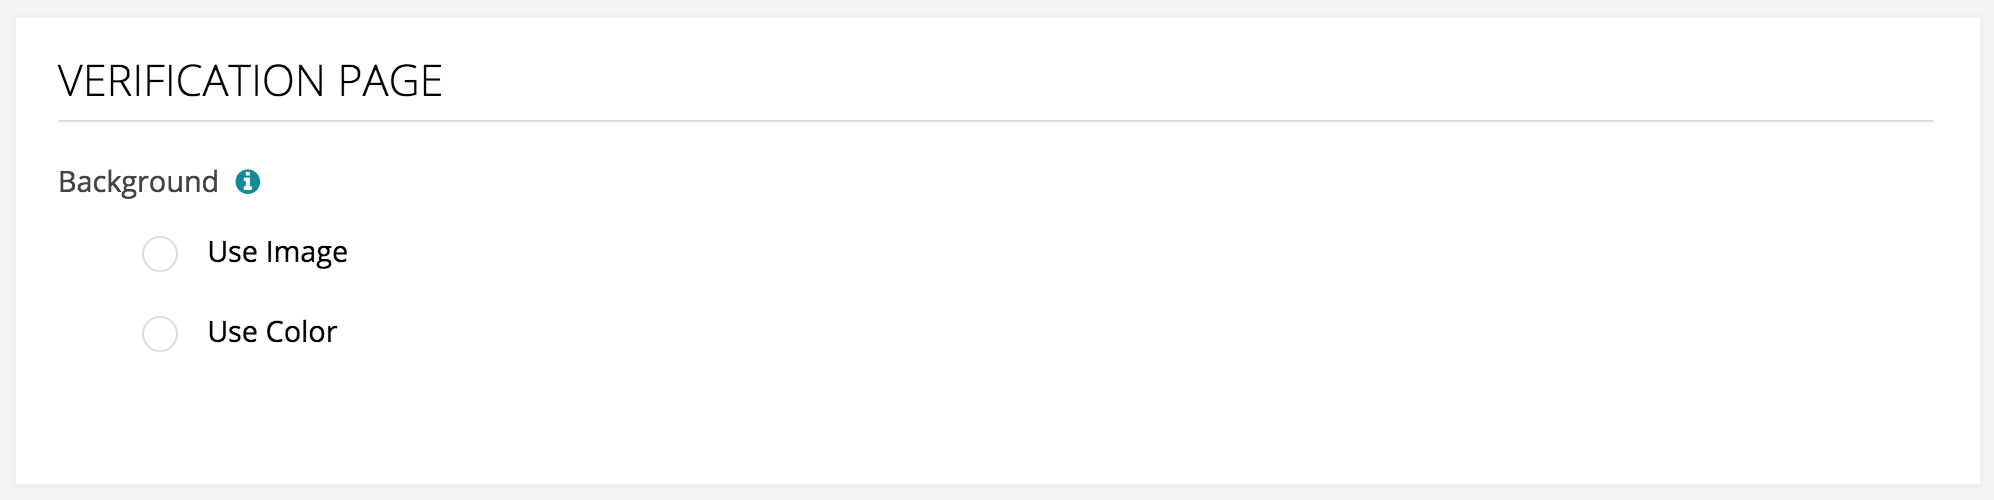
Verification Page
> Choose either a solid color or an image to appear as the background for your verification page.
Requests
MANAGING REQUESTS
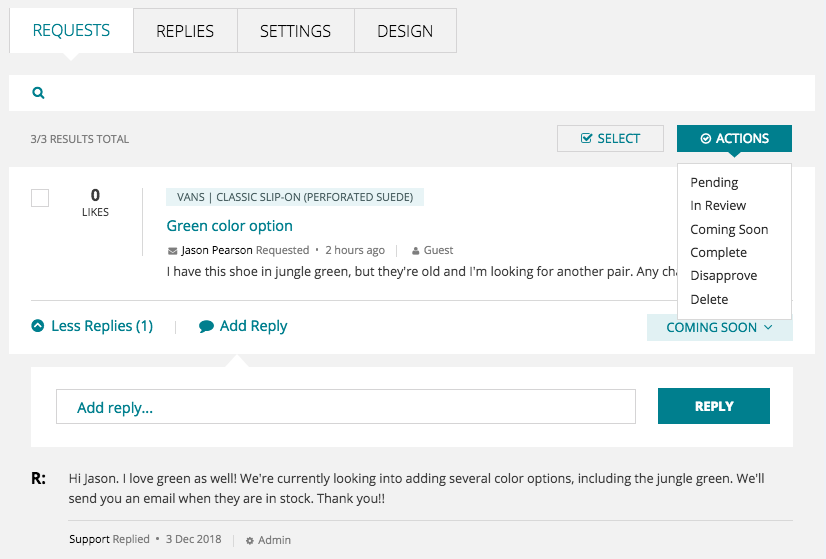
>Customer requests can be managed by selecting “Requests” from the app menu bar.
>From the “Requests” tab you can view, reply, and edit the status of a request.
> Actions - Admin users can mark a request as Pending, In-Review, Coming
Soon, Completed, deleted, or disapproved. Deleted requests will only be visible to
admin users.
> View User Contact Information - Select the  “mail envelope” icon to view
“mail envelope” icon to viewthe name and email address of the customer making the request, as well as the time the request was made.
> Add Reply - Select “Add Reply” to add a reply to the customer request. Replies are visible to shoppers.
> More Replies / Less Replies - Select to view additional or fewer replies.
> Select the product name to be redirected to the corresponding product page on the website.
Replies
Managing Replies
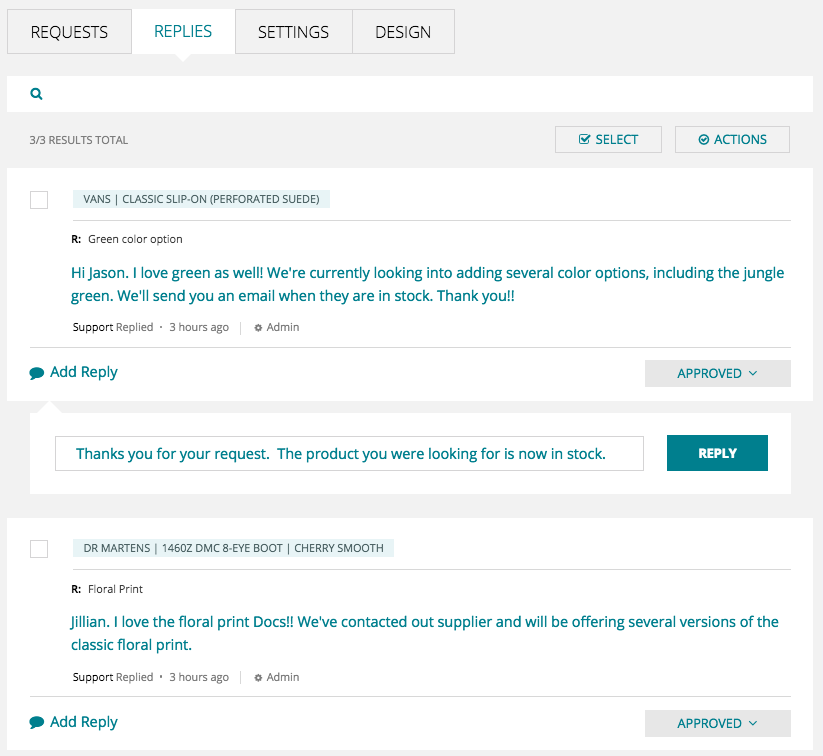
> View Replies - Customer and admin replies can be managed by selecting “ Replies” from the app menu bar.
> Actions - Select “Actions” to mark a reply as Approved, Pending, Disapproved, or Deleted.
> Add Reply - Select “Add Reply” to respond to a customer comment or request.
> Select the product name to be redirected to the corresponding product page on the website.
Uninstallation
Uninstalling the App
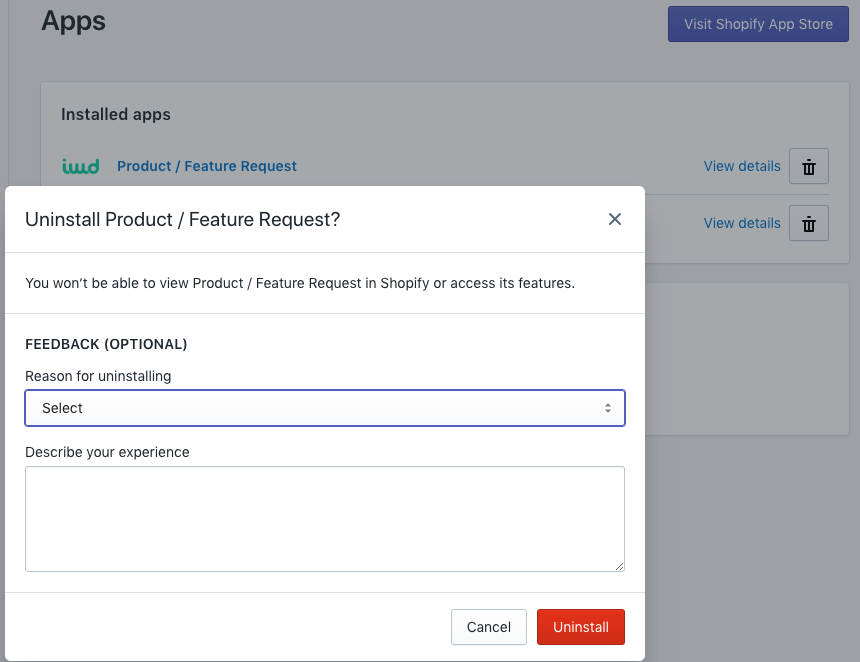
> Select “Product / Feature Request” from your store’s Shopify admin panel.
> Select the  trash can icon and follow the pop-up window instructions.
trash can icon and follow the pop-up window instructions. > Select Uninstall to remove the app and its data from your store.